

How to Create and Manage Meeting Pages
Creating a New Meeting Page and Posting the Agenda
Step 1: Navigate to the Meetings Folder
- Open your organization's folder in ModernCampus
- Locate and click on the folder typically named "meetings"
- You should see a list of files from past meetings, usually named by date
Step 2: Start Creating a New Meeting Page
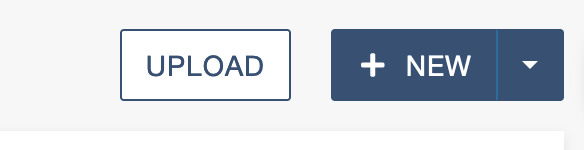
- Look for a blue "New" button at the top right corner of the page
- Click on this blue "New" button
Step 3: Select the Governance Meeting Template
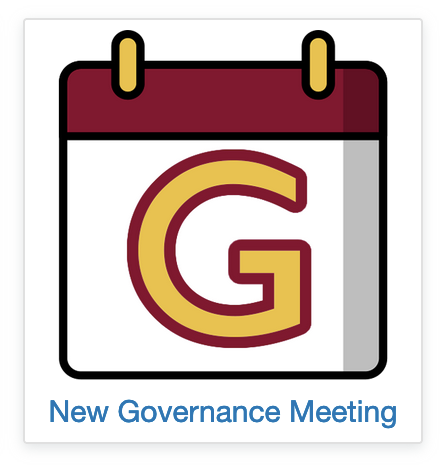
- Look for a template with a calendar icon and a large "G"
- Click on this template to select it
Step 4: Fill Out Meeting Details
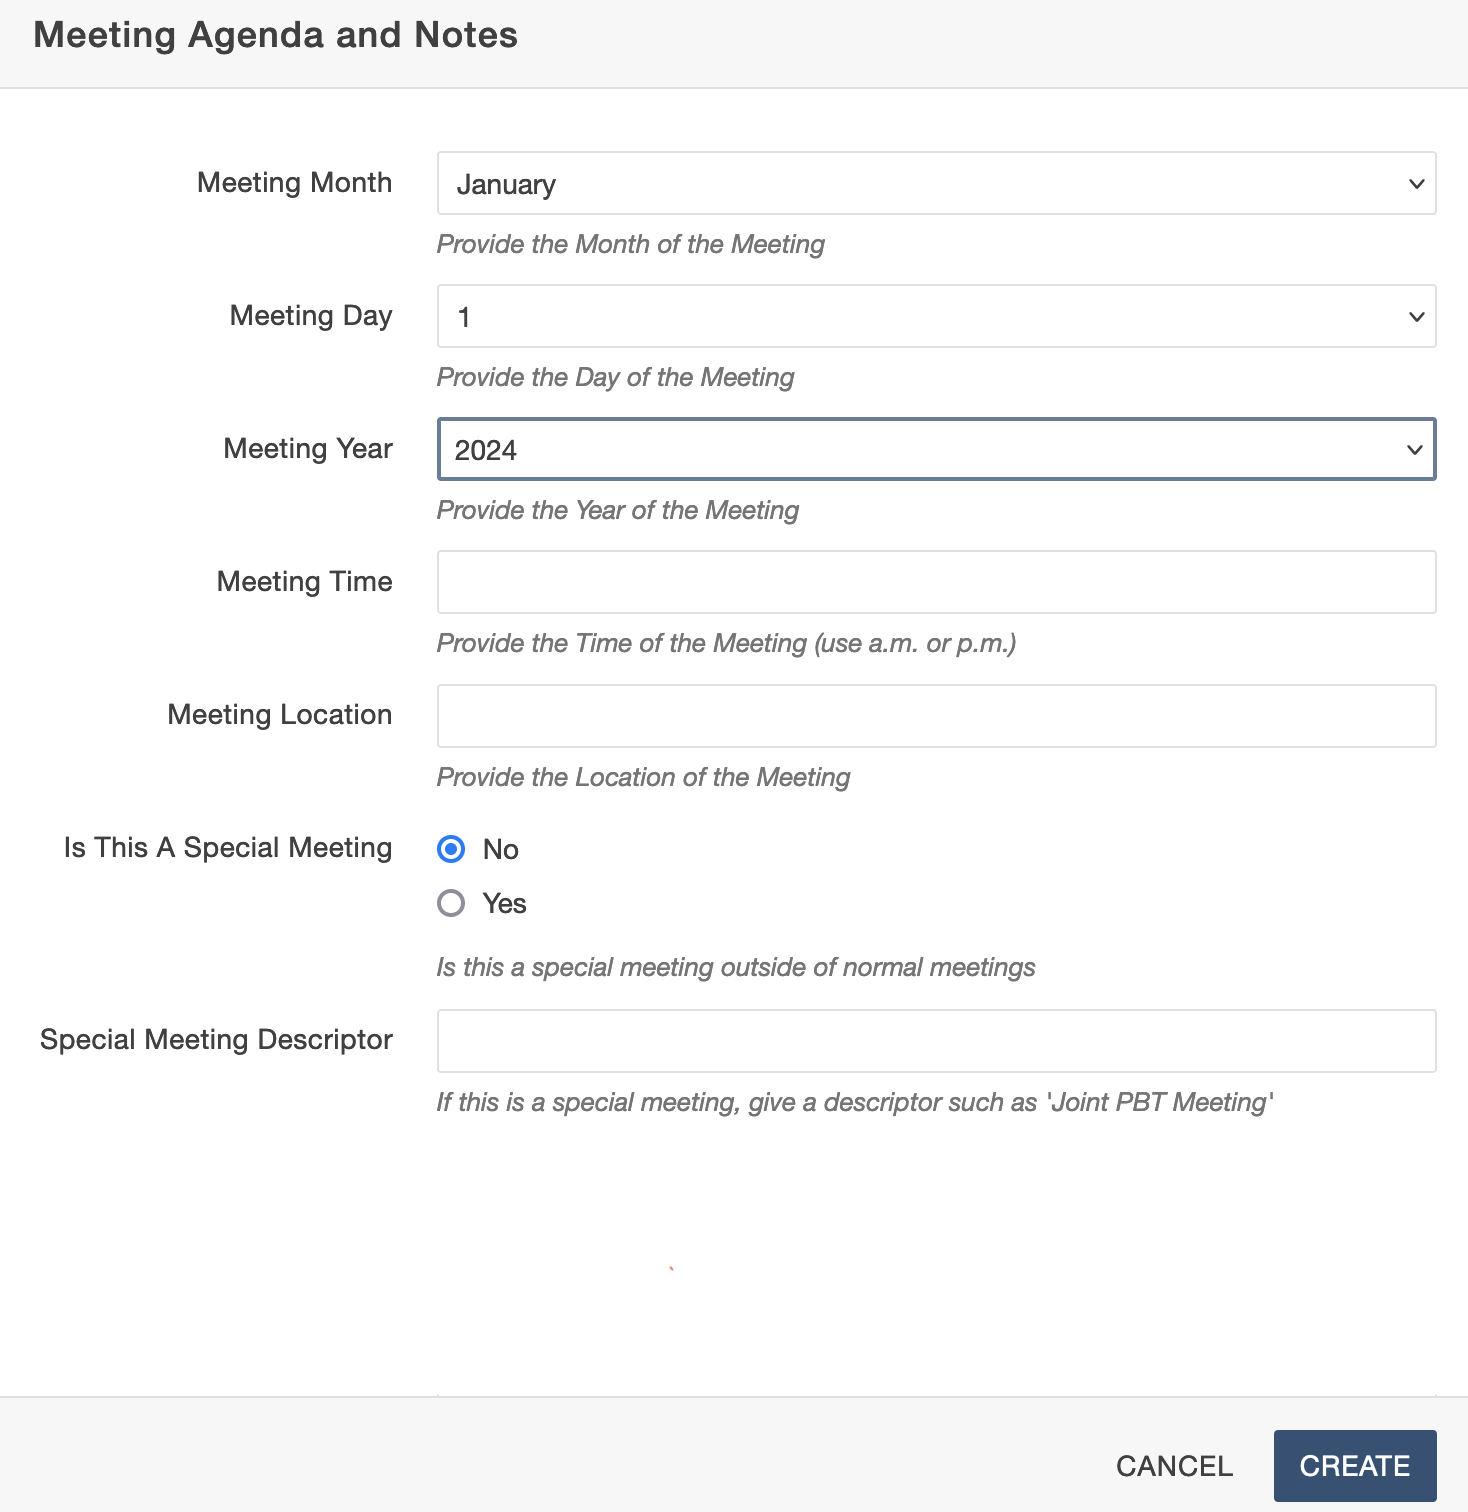
Complete the following fields in the form:
- Date: Enter the meeting date in Month, Day, Year from dropdown
- Time: Enter the meeting time (e.g., 2:00 p.m.)
- Location: Enter where the meeting will take place (e.g., Conference Room A or Zoom Link)
- Special Meeting:
- For regular meetings: Select "No"
- For special meetings: Select "Yes"
- If you select "Yes": An additional field called "Special Meeting Descriptor" must be filled out to describe the special nature of the meeting. Example: "Joint meeting with Classified Senate"
Step 5: Create the New Page
- After filling out all required fields, locate the "Create" button
- Click the "Create" button to generate your new meeting page
Step 6: Edit the Agenda and Other Content
- On your newly created meeting page, locate the content editing area
- Add your agenda items and any other relevant meeting information
- Format the content as needed using the editor tools
Step 7: Save and Publish Your Changes
- Click the "Save" button to save your work
- Look for the "Publish" button located at the top right of the page
- Click the "Publish" button to push your changes to the live site
Adding Minutes/Notes to an Existing Meeting Page
Step 1: Open the Existing Meeting Page
- Navigate to your organization's "meetings" folder in ModernCampus
- Locate the meeting page you want to edit (usually named by date)
- Click on the meeting page to open it
Step 2: Check Out the Page for Editing

- Look for a light bulb or "Edit" button on the page
- Click this button to begin editing the page
- The page should now be in edit mode and checked out to you
Step 3: Configure the Minutes Tab
By default, your meeting page will only show the Agenda. To add the Minutes tab:
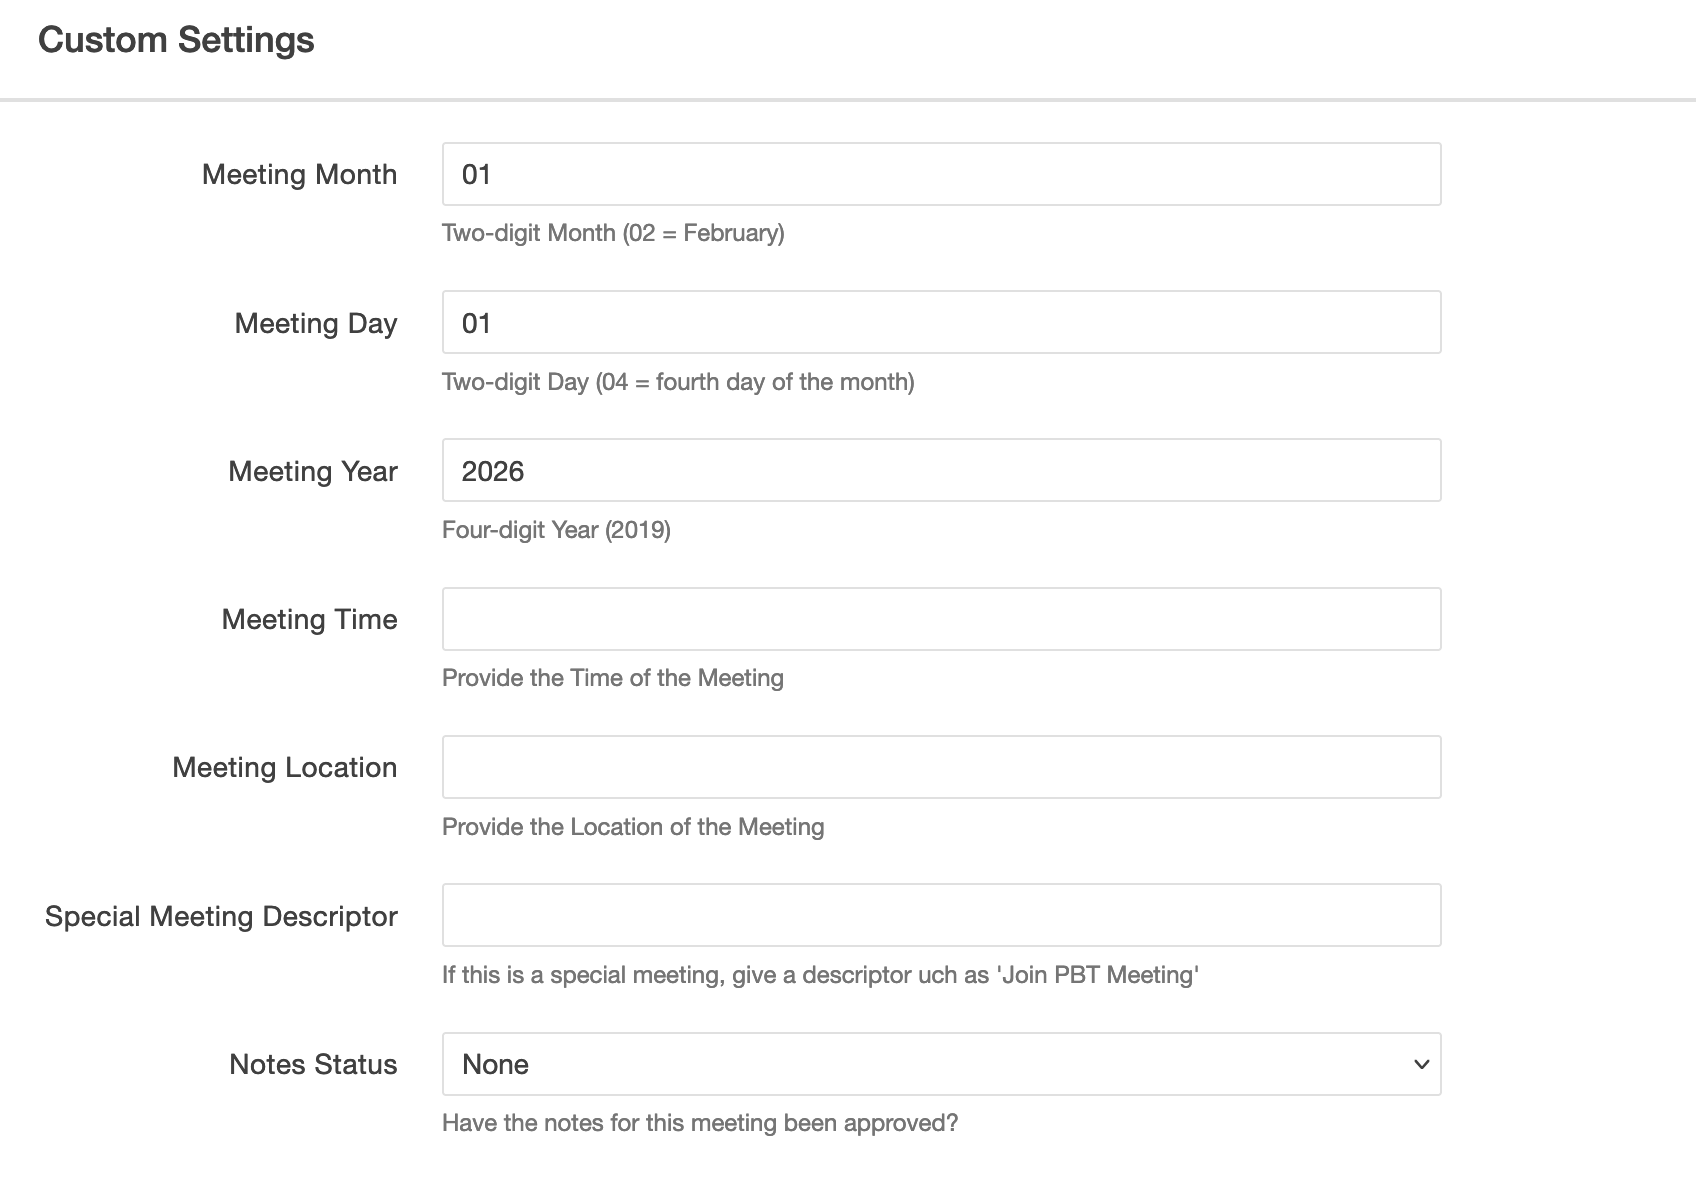
- On the meeting page, find and click on "Properties"
- Scroll down until you see "Custom Settings"
- Under Custom Settings, look for "Note Status"
- Change "Note Status" to either:
- "Draft": This will display "[DRAFT]" on the Minutes tab
- "Approved": This will not display any special status
- Click the "Save" button to apply your changes
Step 4: Edit the Minutes Content
- Navigate to the Minutes tab that should now be visible on your page
- Click in the content area to begin editing
- Add your meeting minutes, notes, and any relevant documentation
- Format the content as needed using the editor tools
Step 5: Save and Publish Your Changes
- Click the "Save" button to save your work
- Look for the "Publish" button located at the top right of the page
- Click the "Publish" button to make your minutes visible on the live site